Integrating Next.js API Data with Webflow: A Step-by-Step Guide
- Published on
- • 7 mins read

Overview
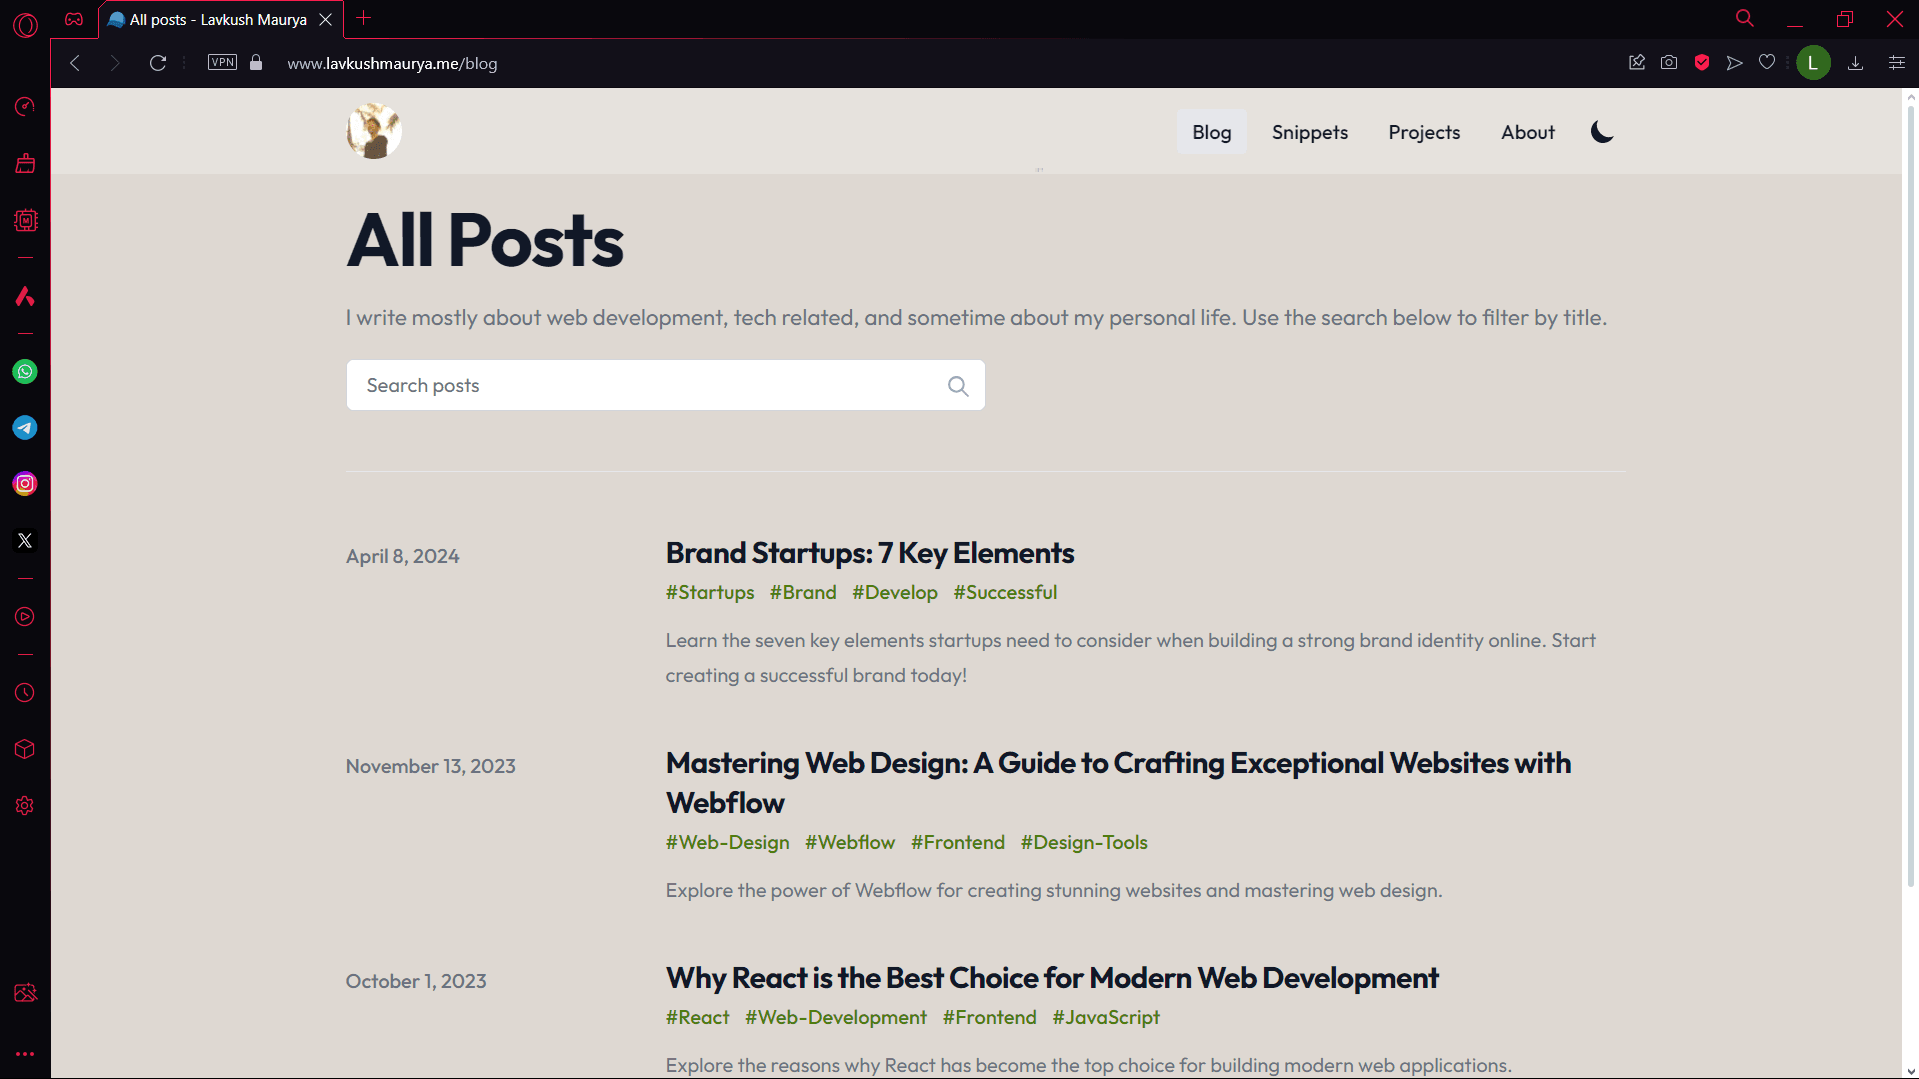
In this guide, you will learn how to integrate API data from a Next.js application with a Webflow site. The process involves fetching data dynamically and displaying it on your Webflow pages. This integration can help you leverage the power of Next.js's API capabilities while utilizing the design flexibility and ease of use that Webflow offers.

We will cover the following steps in detail:
- Fetching the Main Page Content: Retrieve the HTML content of your Next.js site to locate the
buildIdrequired for further API calls. - Extracting the
buildId: Parse the HTML to find thebuildIdembedded within the script tags. - Fetching Blog Data Using
buildId: Construct the URL to fetch blog data in JSON format using the extractedbuildId. - Populating Blog Cards: Insert custom attributes in the blog card element and populate it with the data fetched from the API.
- Appending Blog Cards to the Webflow Page: Insert the populated blog cards into the container element on your Webflow page.
By the end of this guide, you will have a working example of how to dynamically fetch and display content from a Next.js API on a Webflow site using JavaScript. This approach can be extended to other types of content and data, providing a flexible solution for integrating dynamic data into static web pages.
Fetching API Data from Next.js and Displaying in Webflow
To fetch API data from a Next.js URL using buildId and display it in Webflow by appending JavaScript, follow these steps:
Fetch the main page content: Fetch the HTML content of the main page to locate the
buildIdembedded within the script tags.
Extract the
buildId: Parse the HTML and look for thebuildIdin the script tags.
Fetch the blog data using
buildId: Construct the URL to fetch the blog data in JSON format after obtaining thebuildId.
Populate the blog cards: Insert custom attributes in the blog card element and populate it with the data from the fetched JSON.

Insert the populated blog cards into the Webflow page: Append the populated blog cards to the container element on the Webflow page.
Here's the complete code:
<!DOCTYPE html>
<html lang="en">
  <head>
    <meta charset="UTF-8" />
    <meta name="viewport" content="width=device-width, initial-scale=1.0" />
    <title>Blog</title>
    <style>
      .blog-card-image-wrapper .blog-img:hover {
        animation: avatar-pulse 2s infinite;
        transition: background-color 0.5s;
        transition: 0.5s ease all;
        border-radius: 15px;
      }

      @keyframes avatar-pulse {
        0% {
          box-shadow: 0 0 0 0 #fff;
        }
        100% {
          box-shadow: 0 0 0 15px rgba(255, 255, 255, 0);
        }
      }
    </style>
  </head>
  <body>
    <!-- Assuming this is the template blog card in your Webflow page -->
    <div class="blog-card" data-blog="blog">
      <img class="blog-img" data-blog="images" src="" alt="Blog Image" />
      <h2 data-blog="title">Blog Title</h2>
      <p data-blog="summary">Blog Summary</p>
      <p data-blog="date">Blog Date</p>
      <a data-blog="btn" href="#">Read More</a>
    </div>

    <script>
      // Fetch the main page content to get the buildId
      let URL = 'https://lavkushmaurya.me'
      fetch(URL)
        .then((response) => response.text())
        .then((html) => {
          const parser = new DOMParser()
          const doc = parser.parseFromString(html, 'text/html')
          const scripts = doc.querySelectorAll('script')

          let buildId = 'Not found'
          scripts.forEach((script) => {
            if (script.textContent.includes('buildId')) {
              const regex = /"buildId":"(.*?)"/
              const match = script.textContent.match(regex)
              if (match) {
                buildId = match[1]
              }
            }
          })

          const dataUrl = `https://www.lavkushmaurya.me/_next/data/${buildId}/blog.json`
          return fetch(dataUrl)
        })
        .then((response) => response.json())
        .then((data) => {
          const posts = data.pageProps.posts

          // Assuming there is one blog card template to be populated with each post
          const blogCardTemplate = document.querySelector('[data-blog="blog"]')
          const blogContainer = blogCardTemplate.parentElement

          posts.forEach((post) => {
            const newCard = blogCardTemplate.cloneNode(true)
            newCard.querySelector('[data-blog="images"]').src =
              URL + (post.images ? post.images[0] : '')
            newCard.querySelector('[data-blog="title"]').textContent = post.title
            newCard.querySelector('[data-blog="summary"]').textContent = post.summary
            newCard.querySelector('[data-blog="date"]').textContent = post.date
            newCard.querySelector(
              '[data-blog="btn"]'
            ).href = `https://www.lavkushmaurya.me/blog/${post.slug}`
            blogContainer.appendChild(newCard)
          })

          // Remove the original template card
          blogContainer.removeChild(blogCardTemplate)
        })
        .catch((error) => {
          console.error('Error fetching buildId or blog data:', error)
        })
    </script>
  </body>
</html>
HERE WE GO!

Conclusion
Integrating API data from a Next.js application with a Webflow site can greatly enhance the dynamic capabilities of your Webflow pages. By following the steps outlined in this guide, you can fetch and display dynamic content from a Next.js API, providing a seamless and interactive experience for your users. This approach can be adapted for various types of content and applications, making your web development projects more flexible and robust.